
Drawing shapes in Word
‘Drawing shapes in Word’ Student sheets Copiable page 1 of 7
© Nuffield Foundation 2011 ● downloaded from www.fsmq.org
You can use Word to draw tiling patterns, scale diagrams and all sorts of
other illustrations. This activity and others will show you how to do this.
Information sheet
A How to draw basic shapes
Open a new Word document.
Left click on Insert.
Then left click on Shapes. You will see a menu of shapes that you can
choose.
To draw a rectangle
Left click on the Rectangle in the Shapes menu.
The cursor will become a cross.
Left click on the page and at the same time drag the mouse. A rectangle
will appear. Lift your finger from the mouse when it is the size you want.
Rectangle
‘Drawing shapes in Word’ Student sheets Copiable page 2 of 7
© Nuffield Foundation 2011 ● downloaded from www.fsmq.org
To draw a square
Left click on the Rectangle
Hold down the SHIFT key as you left click and drag the mouse.
Think about…
What difference does holding down the SHIFT key make?
To draw an oval
Left click on the Oval
Left click again and drag the mouse. An oval shape will appear.
Remove your finger from the mouse when it is the size you want.
To draw a circle
Left click on the Oval
Hold down the SHIFT key as you left click and drag the mouse.
This gives a circle.
Think about…
In general, what does the SHIFT key do when you draw a shape?
B How to move a shape
Left click on the shape to select it and at the same time drag it to the place
where you want it to be. Try this now on some of your shapes.
C Quick ways to change the size of a shape
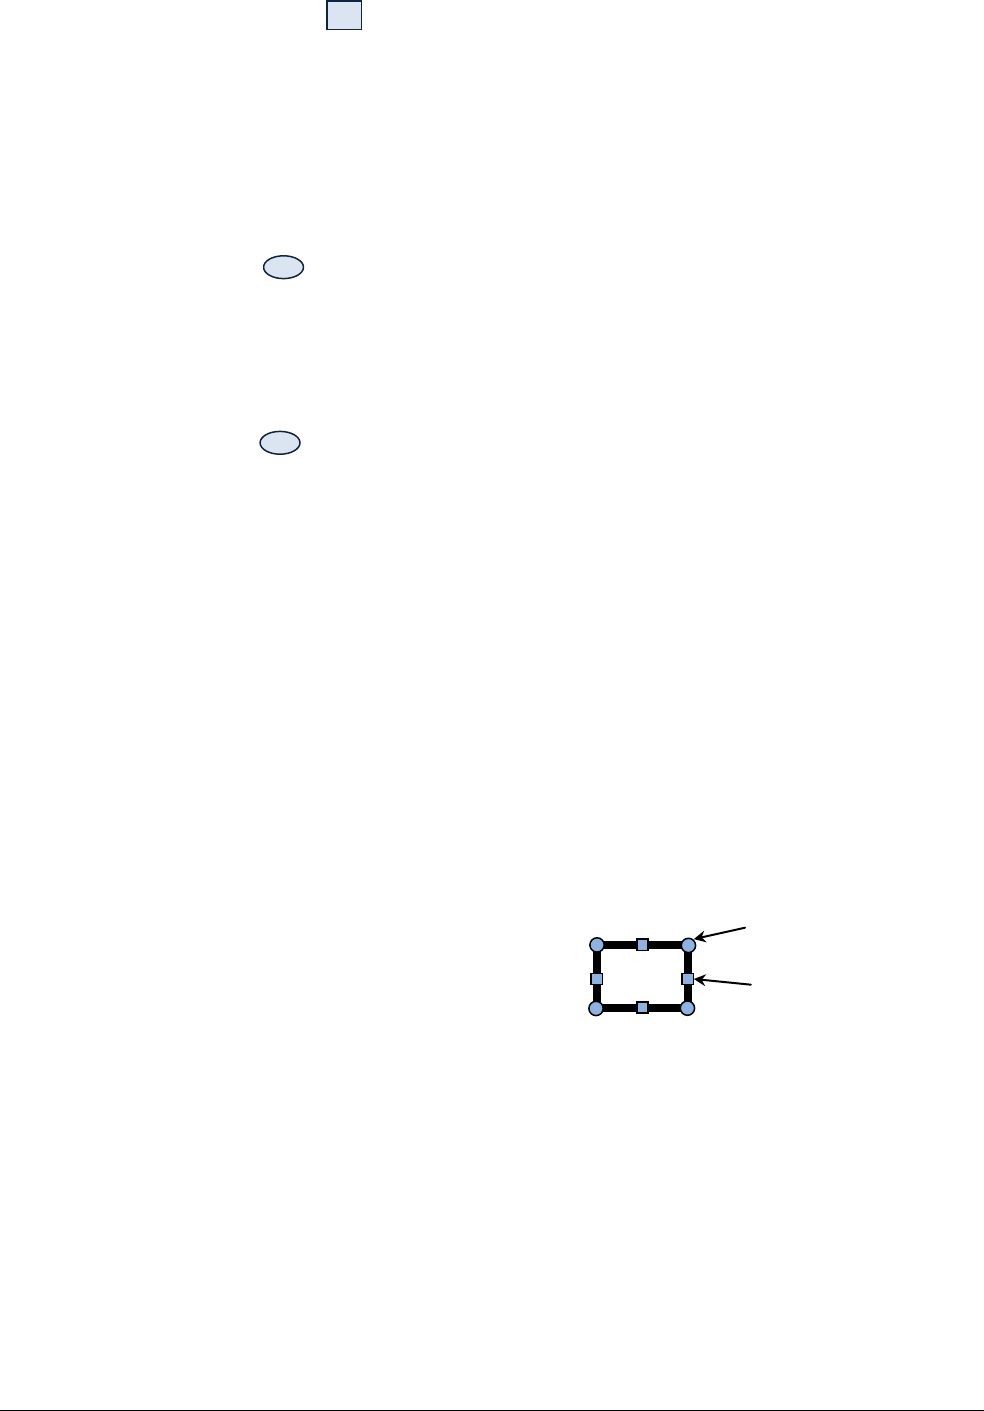
Left click on your rectangle. ‘Handles’ will appear.
Left click on a side handle and at the same time
drag the mouse. Try other side handles.
Think about…
What happens to the shape when you drag a side handle?
Left click on one of the corner handles and drag the mouse.
Think about…
What happens to the shape when you drag one of the corner handles?
In what way is this different from dragging the side handles?
Click on other shapes and use the handles to change their sizes.
side handle
corner handle

‘Drawing shapes in Word’ Student sheets Copiable page 3 of 7
© Nuffield Foundation 2011 ● downloaded from www.fsmq.org
D How to change the appearance of a shape
Left click on a shape. The Drawing Tools Format menu will appear.
Move the cursor over each button to tell you what it does.
This shows what the ‘Bring to Front’ button does.
Some buttons have little arrows beside them.
Left click on an arrow to show the choices you have.
The arrow next to the Shape Fill button gives a lot of different ways to
colour your shapes (shown below).
Shape Fill button
‘Drawing shapes in Word’ Student sheets Copiable page 4 of 7
© Nuffield Foundation 2011 ● downloaded from www.fsmq.org
Try this
Experiment with the options in the Drawing Tools Format menu.
If you don’t like any effect, use the Undo button to remove it.
Think about…
Do you remember how to:
•
move a shape
•
change the size of a shape
•
change the appearance (such as the colour) of a shape.
Try this
Design a colourful pattern using rectangles, squares and circles.
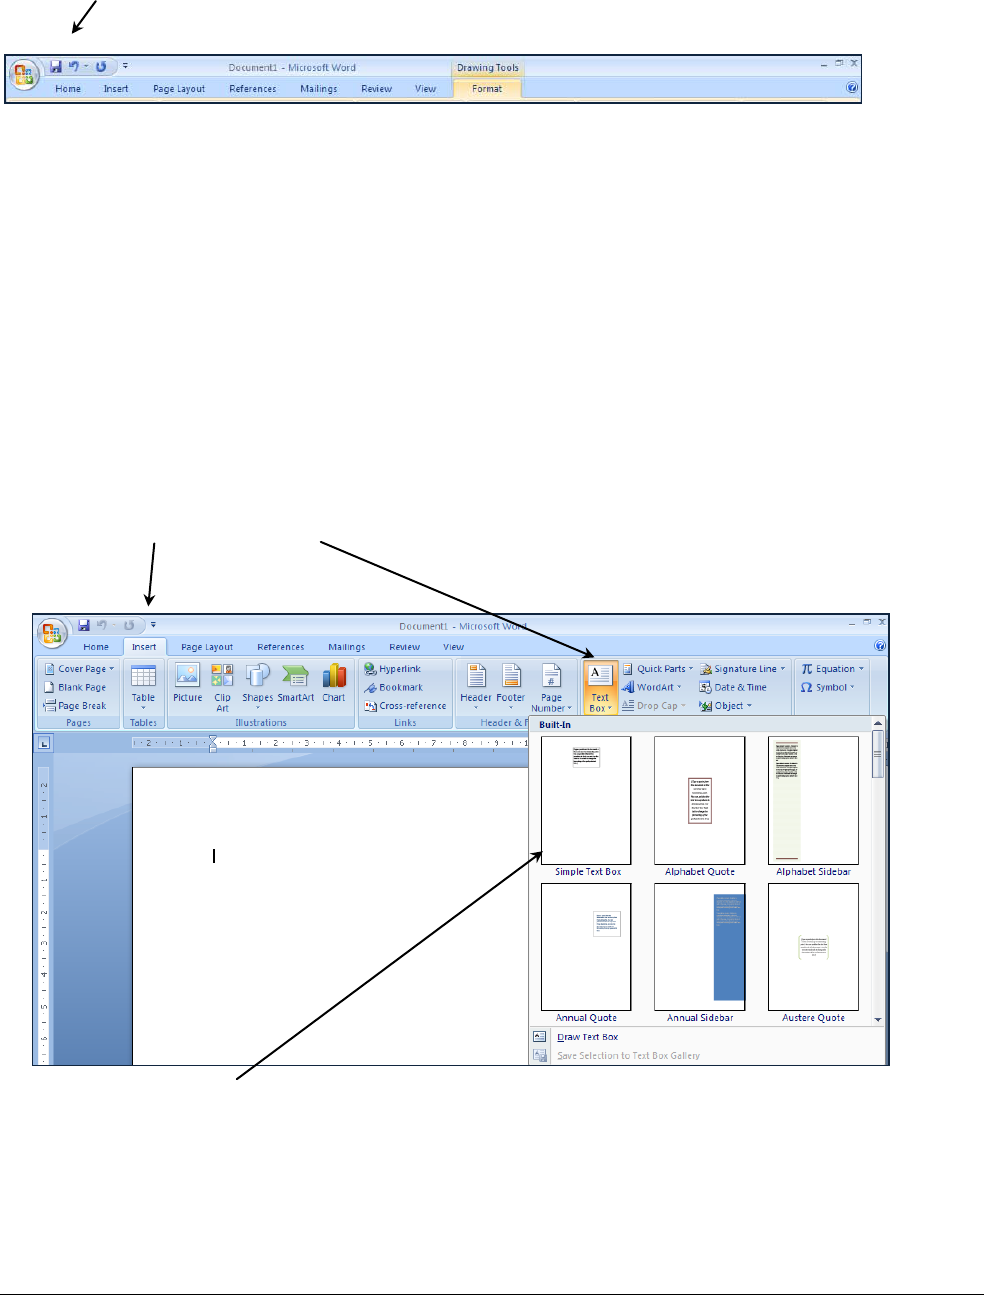
E How to label shapes
Left click on Insert then Text Box. Different text box styles will appear.
Left click on Simple Text Box.
A text box will appear as shown on the next page.
Undo button

‘Drawing shapes in Word’ Student sheets Copiable page 5 of 7
© Nuffield Foundation 2011 ● downloaded from www.fsmq.org
Undo button
Enter the name you want.
Use Shape Outline and Shape Fill to change the appearance of the text box.
(The No Outline and No Fill options will leave just the shape name.)
If you don’t like any effect, use the Undo button to remove it.
Try this
Make and save a revision sheet of shape names.
Some of the most important ones are given on the next page.
(Word sometimes uses different names, but those below are the ones you
need to know.)

‘Drawing shapes in Word’ Student sheets Copiable page 6 of 7
© Nuffield Foundation 2011 ● downloaded from www.fsmq.org
2D Shapes
3D Shapes
Reflect on your work
Check that you remember how to do each of the following:
•
draw a shape (with equal sides when needed)
•
move a shape
•
change the size of a shape
•
change the colour of a shape and its perimeter.
cylinder
cuboid
cube
parallelogram
trapezium
rhombus
octagon
right-
angled
triangle
pentagon
hexagon
isosceles
triangle
equilateral
triangle
rectangle
square
circle

‘Drawing shapes in Word’ Student sheets Copiable page 7 of 7
© Nuffield Foundation 2011 ● downloaded from www.fsmq.org
Alternative methods
There are other ways of doing some things.
Another way to change the appearance of a shape
Right click on your circle then left click on Format Autoshape
A Format Autoshape menu like this should appear.
Left click on the Fill Colour arrow
– this gives colours to choose from.
Left click on one of the colours, then OK
– your circle should reappear shaded in this colour.
You can also use the Line Colour arrow
to select the colour of the line around the circle.
Use the Line Weight arrows if you want
to change the thickness of the line
– the top arrow increases the thickness of the line
and the bottom arrow decreases the thickness.
To make your line dashed click on the Line Dashed arrow
– this gives a variety of patterns to choose from.
Also investigate the options given by the Line Style arrow.
Click OK to apply your choices.
Another way to change the size of a shape
Select your rectangle, then in Format Autoshape left click Size.
The current size of your rectangle will be shown.
Use the Height and Width arrows to change the size of
your rectangle. (Or click on the measurements and
type in particular lengths if you wish.)
You can also enlarge the rectangle using the Scale Height
and Width arrows or by typing in particular percentages.
Clicking on Lock aspect ratio to enlarge the rectangle by
the same % in each direction.
Try this
Compare the different ways of changing shapes and decide which you prefer.
